
I'll admit it: I wasn't one of the guys who had been following Pokemon GO leading up to its release. But I kept seeing it everywhere online and I wanted to reconnect with that childhood nostalgia, so I gave it a whirl. I wouldn't say I got hooked at first, but it grew on me. And so did an idea - If all the people in the app's trailer had a real Pokeball to throw, then why shouldn't I?
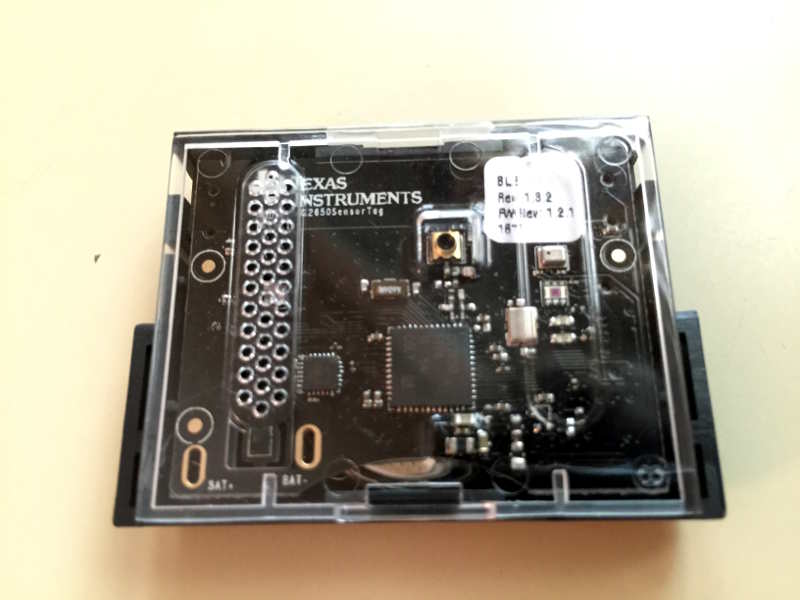
This idea hit me a few days after I downloaded the app, and I knew I had to throw together a proof of concept. But how would it work? I quickly settled on using a Bluetooth link to feed sensor data into my iPhone. An app I wrote would receive this data and trigger a swipe. The sensor should probably be an accelerometer, since it can detect changes in speed, and that would be the easiest way to detect a throw. So I ordered an Arduino Nano, an accelerometer module, and a Bluetooth module. The next day, though, I found and ordered a TI SensorTag (pictured above), which saved me a ton of work since it's an off-the-shelf version of what I was planning to build.
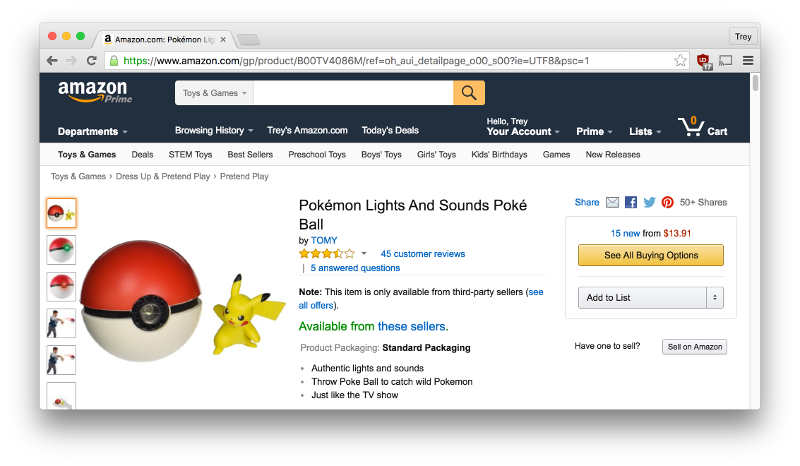
I found a nice, large-ish foam pokeball on Amazon to house everything in. All it does is make noise and light up when you press the button on the front. Solid construciton, though.
The ball with its electronics removed.
All hollowed out now.

I had some help taking out the foam inside.
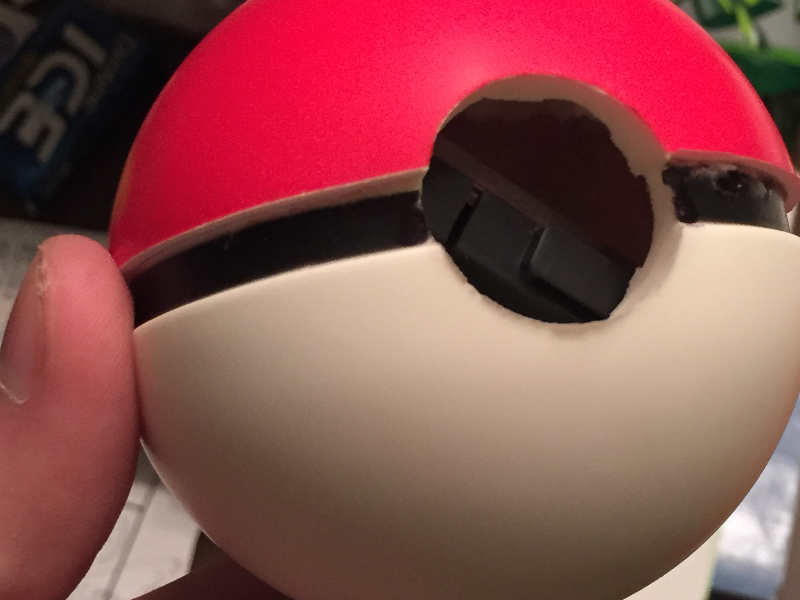
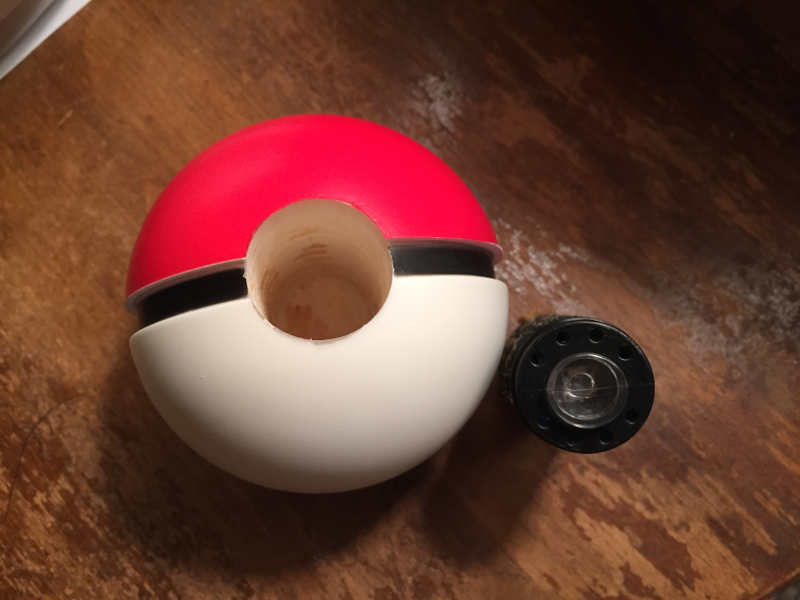
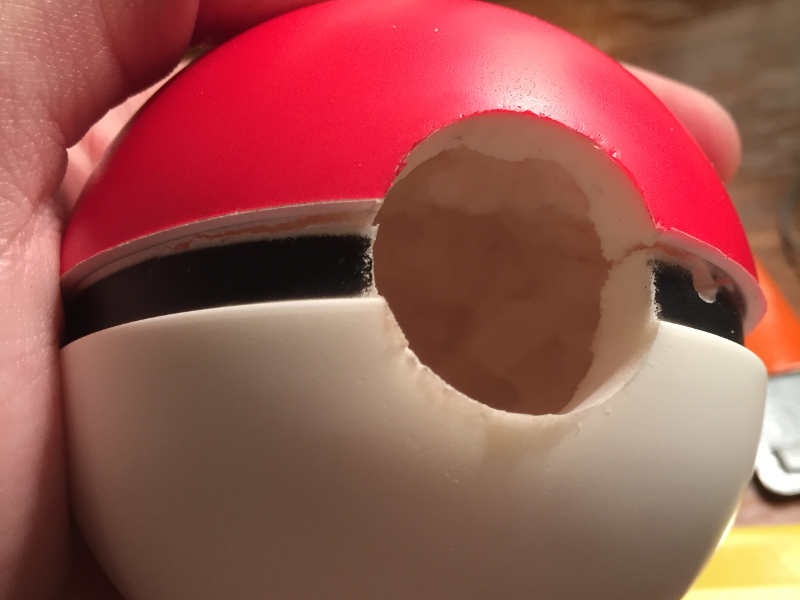
Here I shoved the SensorTag inside the pokeball with the on/off button facing outwards (an important detail I missed the first time around...). It's too large to fit through the hole in the front, so I had to cut horizontally into the black lines around the hole to fit it in. A dab of super glue mends up those cuts quite well.
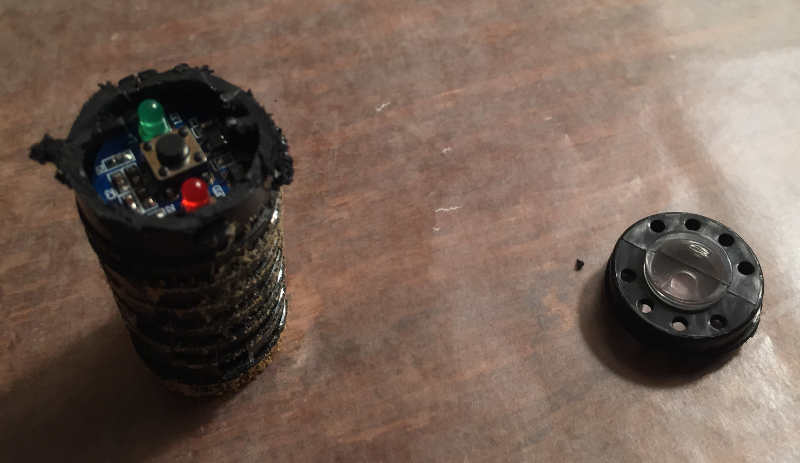
Remember the cylinder of electronics that was inside the foam pokeball? I dremeled the front of it off. It still fits snugly inside the opening, and can be removed to hit the on/off button on the SensorTag. I put a foam pad and some white electrical tape over the clear part.
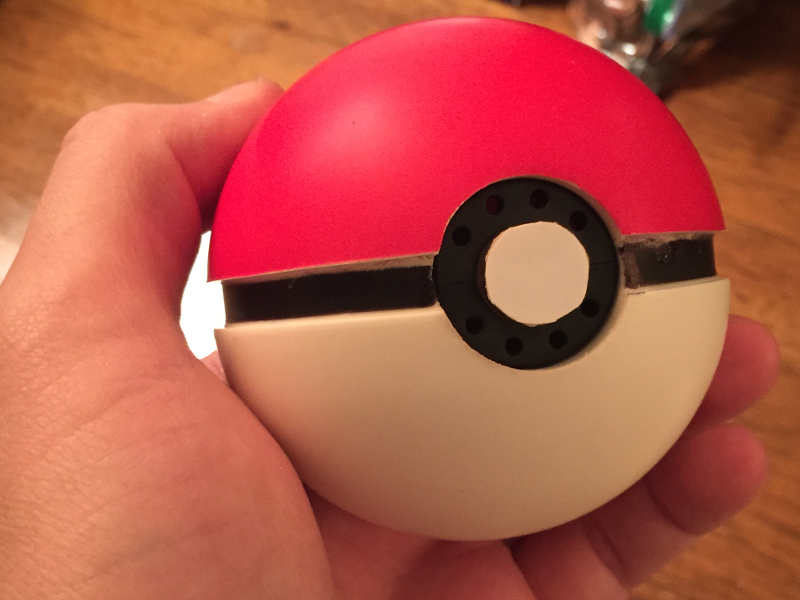
Hardware part is done! Now to throw together the software...

The software is pretty simple. The accelerometer data from the SensorTag is read by my app via Bluetooth. When a throw occurs, the accelerometer values will shoot up and my app will write to a file to indicate that a throw took place. Next, a script for an automation app (called AutoTouch) sees that the file has been written to, and it triggers the swipe onscreen to throw the pokeball in the game. I'll go a bit more in depth below.
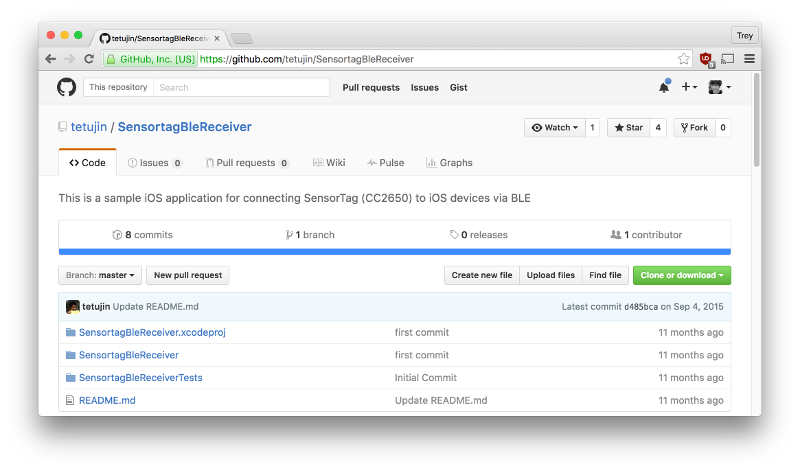
I have to give a huge shout out to tetujin. His github repo was the only place I could find working example code for the SensorTag 2.0 (the one TI is selling now). Docs do exist, but as someone who had never done iOS or Bluetooth dev before, I was out of my league.
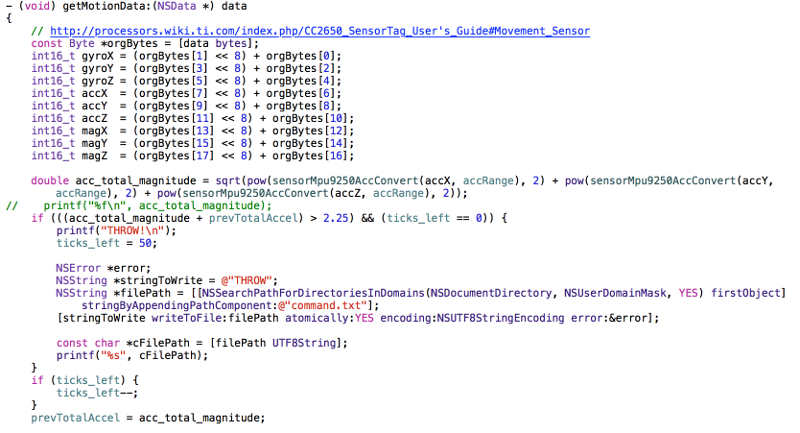
Pretty much the only thing my app does is manage the Bluetooth connection, read the accelerometer data, and write to a file whenever the acceleration magnitude exceeds some threshold value. That's it. That doesn't mean it was easy to make, but there's really not much to it. Another huge shout out to my friend Michael Moxley for helping me get going with iOS dev.
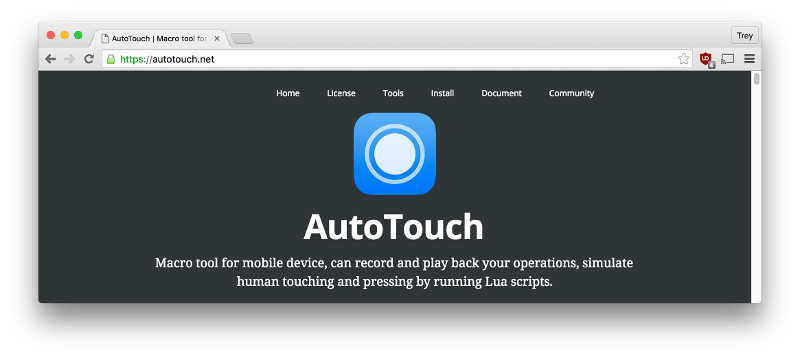
The other part to the software is a script I wrote for an app called AutoTouch. This app is really meant for cheating at games by automating taps and swipes on the touchscreen, but it works great for what I'm doing. It's necessary because simulating touch events requires some fiddling with an undocumented API. I didn't have time to make that work, so I wrote a script for AutoTouch, which handles that undocumented API quite well.
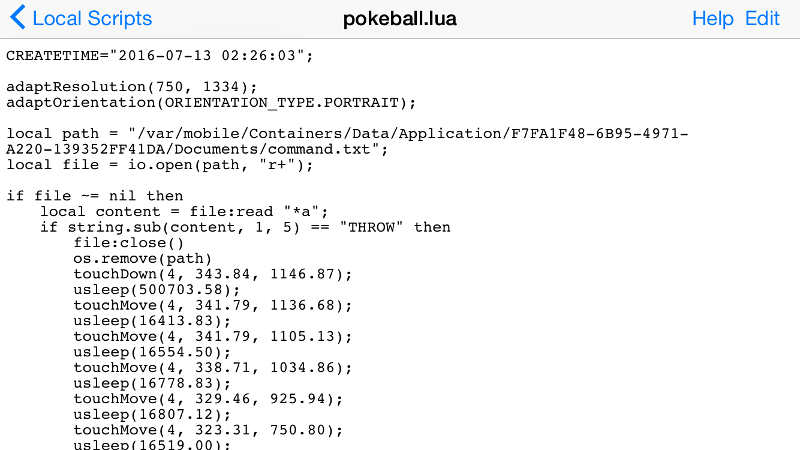
My script just runs continuously in the background, checking the file that my app writes to. If the text "THROW" is in the file, it simulates a user swiping to throw a pokeball, and clears the file. That's all there is to it.
So to reiterate, here's how it all works. My app connects to the SensorTag inside the pokeball and reads the data from its accelerometer. If the acceleration is above a certain value, it writes "THROW" to a file. This in turn triggers the AutoTouch script, which is checking that file, to simulate a swipe on the screen. There's an unnecessary added layer of complexity with AutoTouch, but it saved a ton of time to get an example going.
All of this coming together makes this happen:
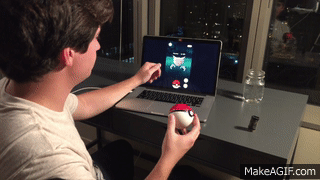
(My phone's screen is being displayed on my laptop over USB. Unfortunately I only had my phone's camera when I wrote this, so I had to use one of those spy cam apps that work in the background to record the video while I had Pokemon GO in the foreground.)
Hope you enjoyed a peek behind the scenes! If you have any questions, feel free to email me.
Gotta catch em all!
- Trey